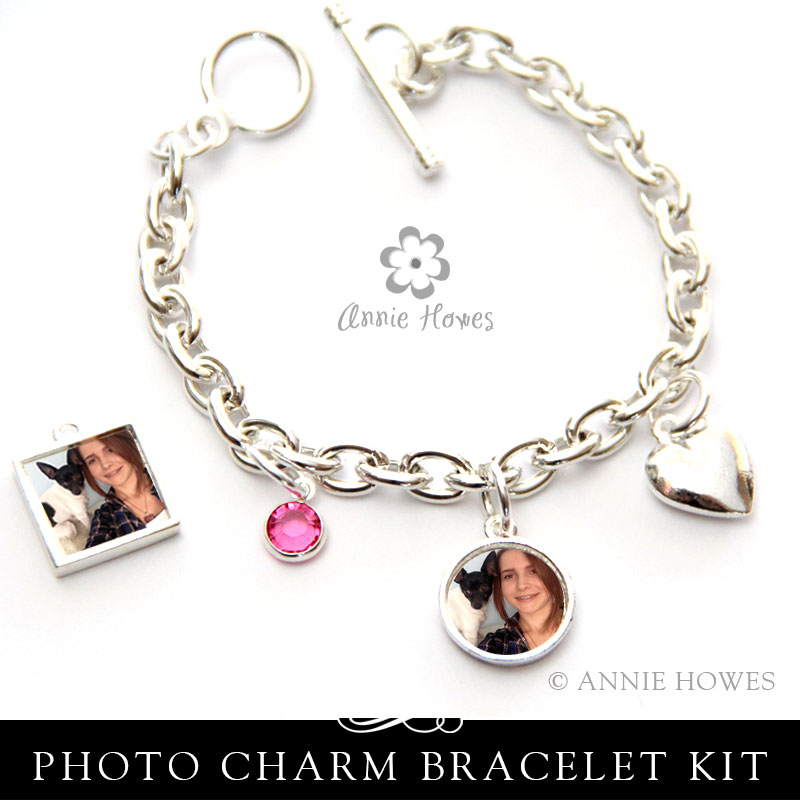
How to Make A Photo Charm Bracelet
Shopping List to Make Photo Charm Bracelets:
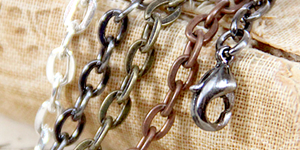
Charm Bracelets
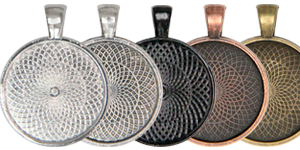
Charms
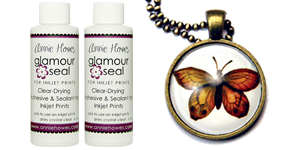
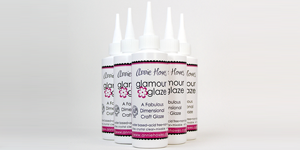
Glamour Stickies
Jump Rings
1/2" circle paper punch
Printed Photos
2 jewelry pliers
Clear tape
Or purchase our convenient kit:
Photo Charm Bracelet Kit
STEP1: Size and print your images. Use any prints on any paper.
STEP 2: Using clear tape, cover image and trim excess.
STEP 3: Trim to size. For the circle shape, you might want to use the 1/2" circle paper punch.
STEP 4: Peel the backing from the Glamour Stickies included with purchase, and press to the back of the photo.
STEP 5: Attach jump rings using craft pliers. See photos below.
TIP: For a more durable photo charm, please click here for the full tutorial on sealing your charm.
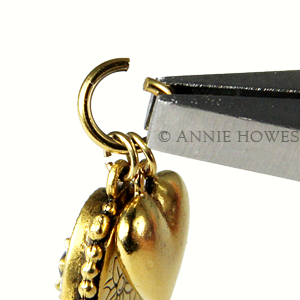
Attaching jump rings.
Start by taking one set of pliers and grasping the jump ring on one side of the ring just below the opening. The opening should be at the top evenly spaced between the pliers.
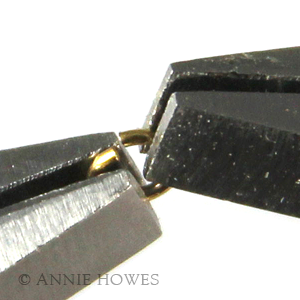
To open the jump ring, hold one end firmly in place and rotate the other end, either away from you or towards you. Do not pull the ends away from each other. Only rotate far enough from the other end to be able to slip the charm and the bracelet through the opening.

Now you're ready to add the charm to the jump ring. Hold onto the jump ring with one of the pliers, and add your charm.
Next, slip the bangle, bracelet, earring bail onto the jump ring and rotate the ends together.
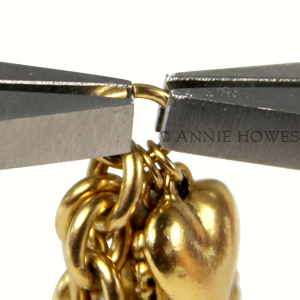
Your jewelry is now ready to wear! Wasn't that easy?
For more fun kits, please visit me at www.anniehowes.com
Customer Favorites