How to Make A Dog Tag
How to Make A Glaze Coated Dog Tag
Decorating dog tags is easy and fun. If you want a more durable dog tag, then I recommend using parts of this tutorial (up to Step 4) along with the resin tutorial (coating method) here.

decorative paper (not inkjet)
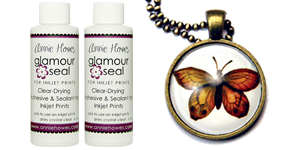
Glamour Glue or Glamour Seal
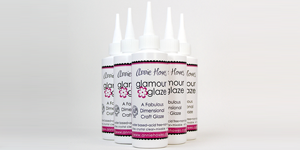
Glamour Glaze
toothpicks


Step 1:
Trim decorative paper to a manageable size and position it over the dog tag. I press around the edges to make an impression or outline the tag as shown so I know where to position the tag when it’s time to glue.
Take a pencil and draw a circle where the hole is on the tag and punch it out using your paper punch.
The hole in the dog tag is 1/8”. If you don’t have a 1/8” paper punch, you can use an awl or other slim pointy device, such as a nail, to punch trough the paper, but you may want to do that after you glue the paper to the dog tag.


Step 2:
Brush Glamour Glue or Glamour Seal onto the tag. I glue on the smooth flat side.
Line up the hole in the paper (if you’ve punched a hole) with the hole in the dog tag, and be mindful of the impressions you made on the paper. This will ensure you’ll end up with the desired pattern.


Step 3:
Smooth the paper on the surface of the dog tag to remove all trapped air.
I use the burnisher, but you don't necessarily need to. I recommend using some kind of non-stick paper, such as deli paper or parchment paper as you push the air out so you don't accidentally transfer any dirt or glue to the surface of the paper.
Let the glue dry thoroughly.

Step 4:
Once the glue is dry, turn the tag paper side down and trim with your blade. I use a slight inward angle. Score first lightly then add more pressure on your second pass. Be sure to use a sharp blade for the best cuts.


Step 5:
Apply Glamour Glaze in thin layers. Use a toothpick to coax the glaze to the edges. Work quickly because the glaze sets quickly.
Repeat only when the glaze has dried from the previous application. In other words, don't apply more glaze on top of wet glaze. Allow to dry thoroughly.
To help protect the surface of the glaze from heat and humidity, apply a thin coat of clear non-yellowing varnish to the glaze once it has dried thoroughly.


Finished! Congratulations on making a dog tag!
These dog tags are also wonderful coated with resin for a durable waterproof finish.
Experiment using your own images.
Customer Favorites